What Happens Between Templating and Installation
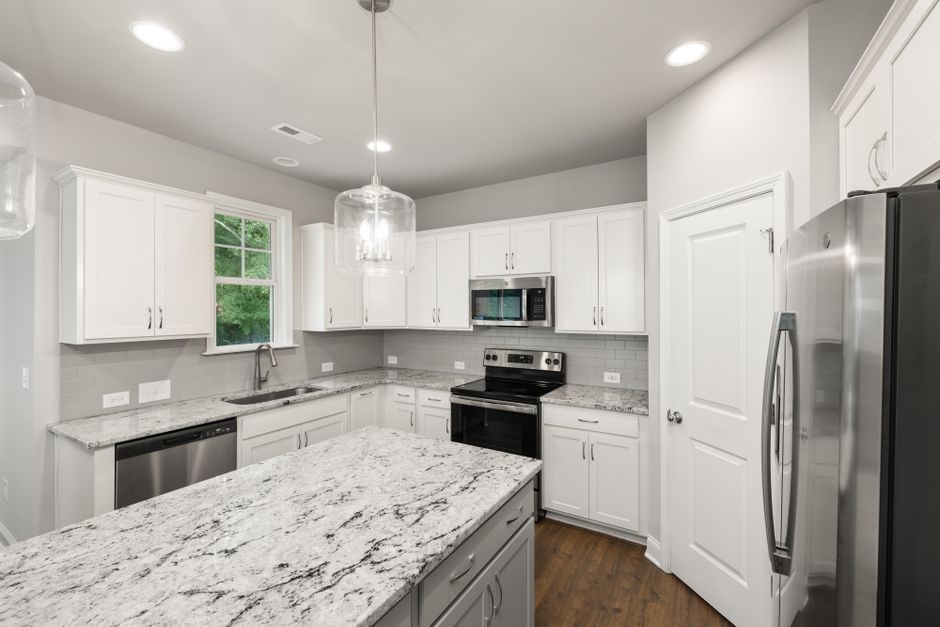
Once the cabinets are in and level, a kitchen in Savannah, GA moves through the same sequence, and the notes at countertops savannah aware center follow it from the first measurement to the last bead of silicone on the countertop. Humid coastal air and older houses with out-of-square walls make each step matter more.
Templating comes before any cutting
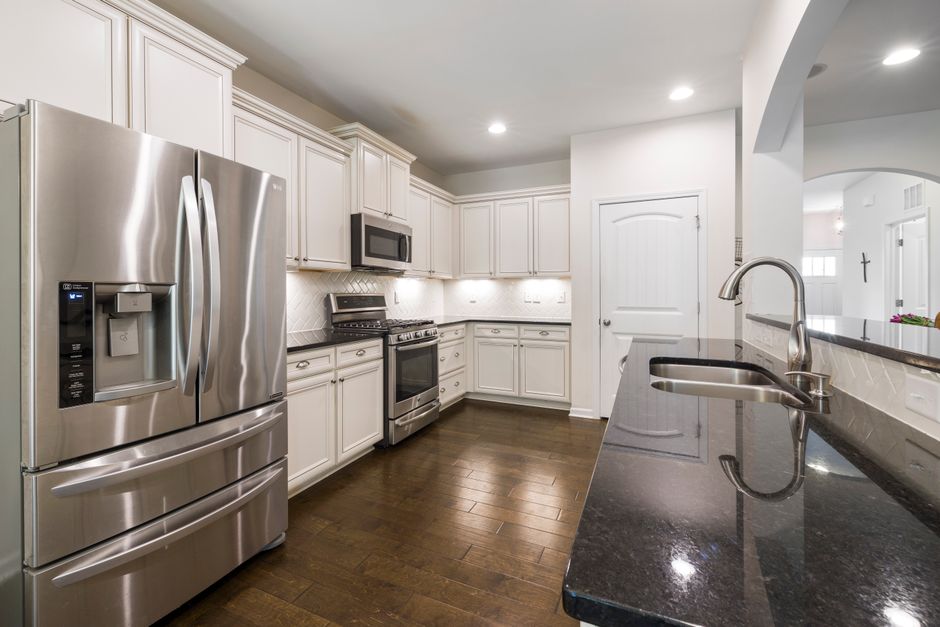
Templating records exact cabinet dimensions, wall lines and cutout positions. Some shops use a digital laser system, others use physical strips glued into a pattern. Either way, the stone is never cut from a tape measure sketch. In older homes near Forsyth Park, walls that bow half an inch over ten feet are common, and the template has to capture that, so the top is scribed to the wall instead of assumed straight.
Slab choice and layout approval
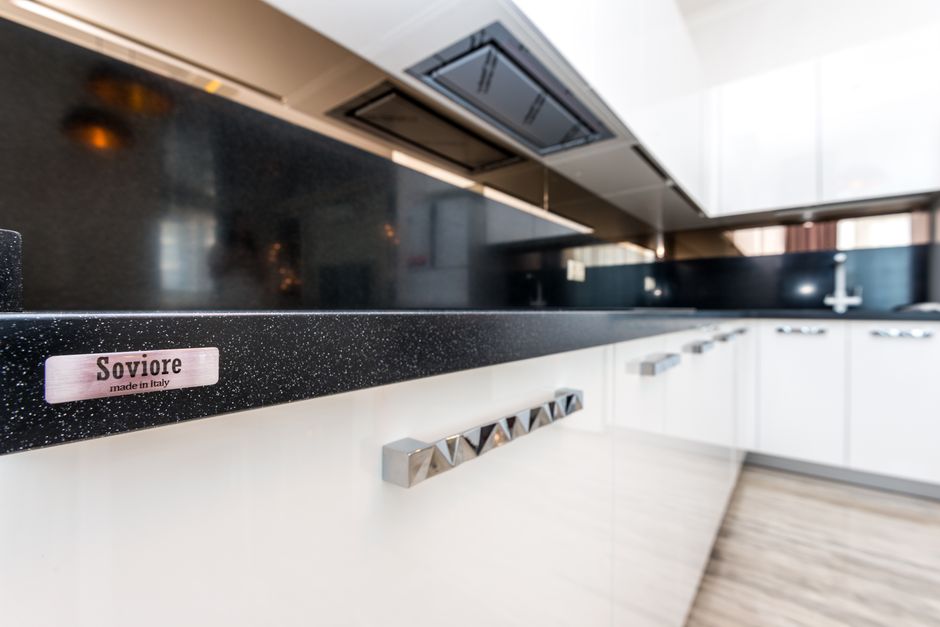
Many fabricators let the homeowner approve the slab and the layout before cutting. Veining in marble, quartzite and some quartz runs in bands, and the layout decides where those bands land. Granite varies in movement and color across one slab, so it gets looked at, not guessed at. A remnant can work for a small vanity or a bar top, but it needs the same approval.
Cutting and edge work
Stone and quartz are cut with water cooled saws or waterjets. Water controls heat and dust at the blade. Sink and cooktop openings are cut from the template marks. Edge profile work comes after the main cuts. An eased edge, a bevel or a bullnose is shaped and then polished in steps. A waterfall edge takes extra planning, because the vertical return must match the grain of the top.
Seam placement
Seams are not always avoidable. Seam placement is set by slab size, access through doors and stairs, and support over cabinets. A long run in a river street era building with narrow stairs may need to be split to get it inside at all. Seams are joined with color matched adhesive, then pulled tight with clamps or suction cups and finished flush. A seam belongs over solid cabinet support, not in the middle of an unsupported overhang or beside a sink cutout.
Sink mounting, setting and cure time
Undermount sinks are attached to the underside of the top with adhesive and clips or brackets, before or during install. Tops are then set on the cabinets with adhesive or silicone, leveled with shims, and the seams are drawn tight. Silicone and adhesives need time to cure before heavy use or sink loading, so the kitchen is not ready the minute the installers leave. Plumbers should wait for that cure before hanging weight on the sink, and heavy appliances should be held back as well.